Creating Sequences
This guide walks you through creating a sequence from scratch, configuring steps, and enrolling your first contacts.
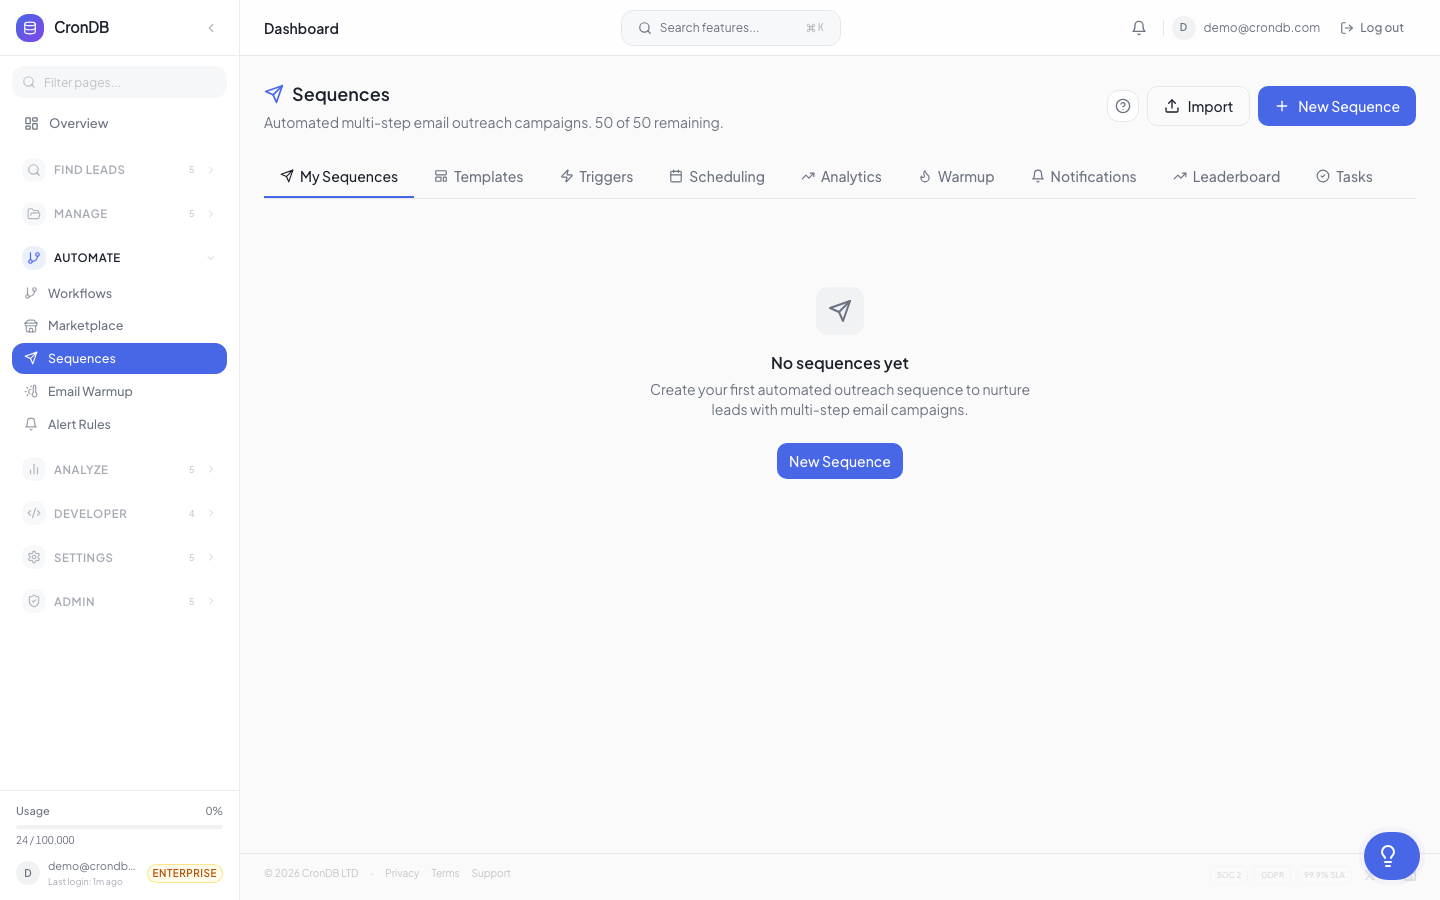
Step 1: Create a New Sequence
- Navigate to Sequences in the sidebar
- Click + New Sequence
- Enter a name (e.g., "SaaS Outreach Q1")
- Choose a type:
- Email only — Simple email-based sequence
- Multi-channel — Email + LinkedIn + phone + tasks
Step 2: Configure Sender Settings
Before adding steps, configure your sending identity:
- From Email — Select a connected email account
- From Name — The display name recipients see (e.g., "Alex from CronDB")
- Reply-To — Where replies go (defaults to your From Email)
On Pro and Enterprise plans, you can assign different senders to different steps. This is useful for team sequences where an SDR sends the intro and an AE sends the follow-up.
Step 3: Set Your Send Window
Define when emails are allowed to be sent:
- Days: Select which days (e.g., Monday through Friday)
- Hours: Set start and end time (e.g., 9:00 AM to 5:00 PM)
- Timezone: Choose the timezone for scheduling
- Respect recipient timezone: When enabled, CronDB estimates the recipient's timezone from their country and sends within their business hours
Emails scheduled outside the send window will be queued and sent during the next available window. This ensures your messages arrive during business hours.
Step 4: Add Steps
Click + Add Step to add a step to the sequence. Steps execute in order.
Email Step
Configure:
- Subject line — Supports personalization variables
- Body — Rich text editor with variable support
- Tracking — Open tracking and link click tracking (on by default)
Delay Step
Set a wait period before the next step:
- Duration — Number of days, hours, or minutes
- Business days only — Skip weekends and holidays if checked
Condition Step
Add branching logic:
- If opened → Send version A of follow-up
- If not opened → Send version B with different subject
- If clicked → Skip to meeting request
- If replied → Exit sequence
Manual Task Step
Create a task for your team:
- Task name — e.g., "Call prospect"
- Description — Talking points or context
- Priority — Low, Medium, High
- Tasks appear in the Tasks tab and must be completed to advance
Step 5: Add Personalization
Use variables in subject lines and body text to personalize each message:
| Variable | Description | Example Output |
|---|---|---|
{{domain}} | The prospect's domain | stripe.com |
{{company}} | Company name (extracted) | Stripe |
{{industry}} | AI-classified industry | Technology |
{{country}} | Registrant country | United States |
{{tech_stack}} | Key technologies | Shopify, React |
{{summary}} | AI business summary | Online payments platform... |
{{sender_name}} | Your name | Alex |
{{sender_company}} | Your company | CronDB |
{{unsubscribe_link}} | Required unsubscribe URL | [link] |
Fallback Values
Set fallback values for when a variable is empty:
Hi {{first_name | there}},

I noticed {{company | your company}} is using {{tech_stack | some great tools}}.
Step 6: Preview and Test
Before activating:
- Click Preview to see how the sequence looks with sample data
- Click Send Test to send a test email to yourself
- Review the timeline view to verify delays and conditions
Step 7: Enroll Contacts
Manual Enrollment
- Go to a Lead List or Audience
- Select domains (checkboxes)
- Click Enroll in Sequence
- Choose the sequence
- Confirm enrollment
Automatic Enrollment
Connect a sequence to an Audience for auto-enrollment:
- Open the sequence settings
- Click Auto-Enrollment
- Select an audience
- New domains matching the audience criteria will automatically enter the sequence
API Enrollment
curl -X POST \
  -H "Authorization: Bearer cdb_your_api_key_here" \
  -H "Content-Type: application/json" \
  -d '{"sequence_id": "seq_abc123", "domains": ["example.com"]}' \
  "https://api.crondb.com/v1/sequences/enroll"
Step 8: Activate
Click Activate to start sending. The sequence will begin processing enrolled contacts according to your schedule and send window.
Managing Active Sequences
- Pause — Temporarily stops all sending; contacts keep their positions
- Resume — Continues from where each contact left off
- Archive — Deactivates permanently; contacts are removed
You can edit steps in an active sequence, but changes only apply to contacts who have not yet reached that step. Contacts already past an edited step will not be affected.
Next Steps
- Templates — Use pre-built templates
- AI Writer — Generate email copy with AI
- A/B Testing — Test different subject lines and content
- Triggers — Set up auto-enrollment rules